
Sewing enthusiasts often seek ways to enhance their sewing experience, and one such way is by using a walking foot attachment.
This accessory, an even feed Put a Walking Foot, is handy when working with challenging fabrics like knits, plaids, or leather.
I’ll walk you through putting a walking foot on your sewing machine, ensuring smooth and professional results in your projects.
1. Walking Foot Attachment
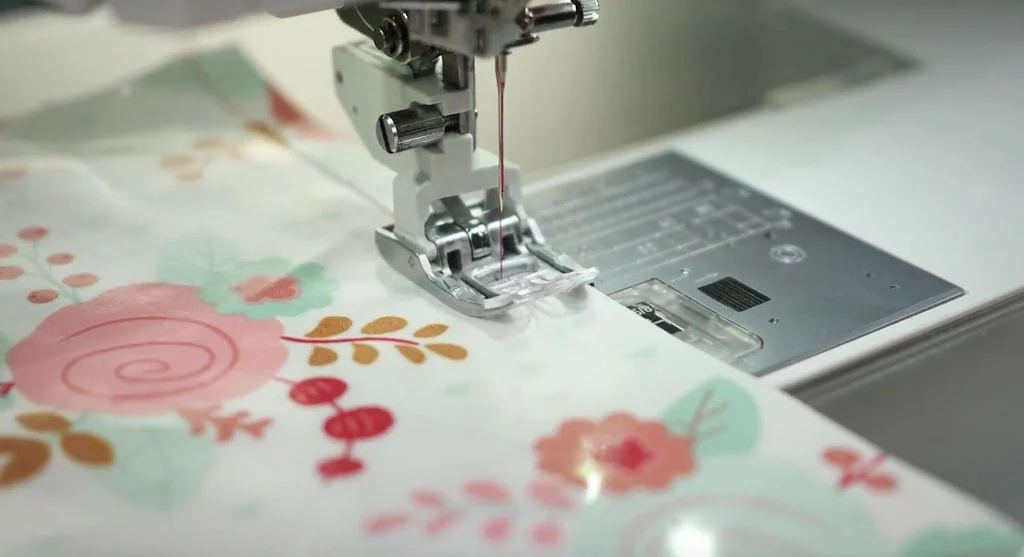
Before delving into the installation process, let’s see what a walking foot attachment does. Unlike standard presser feet, a walking foot has built-in feed dogs that move in sync with the machine’s feed dogs.
This mechanism prevents layers of fabric from shifting unevenly during sewing, resulting in precise and consistent stitching.
2. Benefits of Using a Walking Foot
Using a walking foot offers several advantages:
- Prevents fabric layers from shifting or puckering
- to ensure smooth and even stitching, especially with thick or slippery fabrics
- Facilitates sewing multiple layers or bulky seams with ease.
3. Components of Put a Walking Foot
To effectively install a walking foot, it’s essential to understand its components.
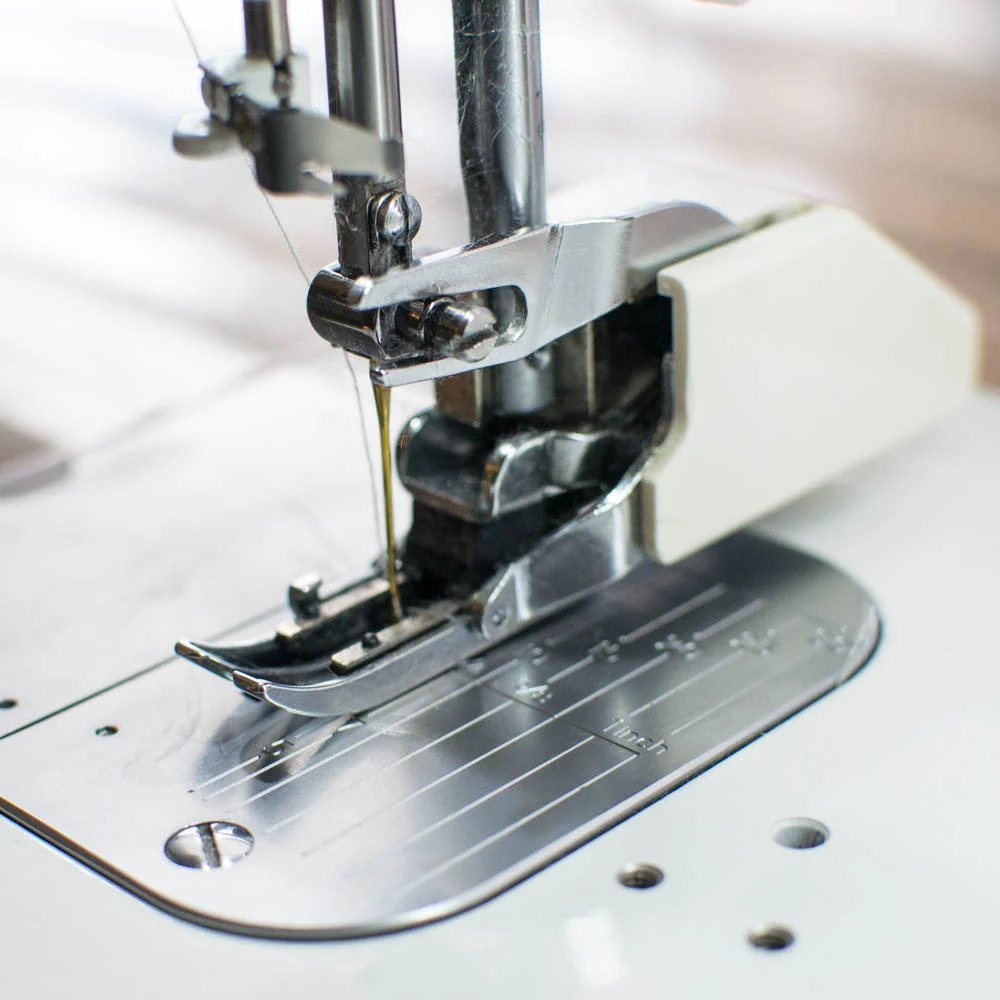
- Presser Foot: This part attaches to the machine’s presser bar and holds the fabric in place.
- Feed Dogs: These are the teeth-like mechanisms that grip the fabric and move it forward.
- Walking Mechanism: Put a walking foot containing additional feed dogs that move in tandem with the machine’s feed dogs, aiding in even fabric feeding.
4. Preparing Your Sewing Machine for the Attachment
Before Put a walking foot, ensure your sewing machine is ready.
- Choosing the Right Walking Foot: Put a walking foot compatible with your sewing machine model.
- Adjusting the Presser Foot Pressure: Consult your machine’s manual to adjust the presser foot pressure to accommodate the walking foot.

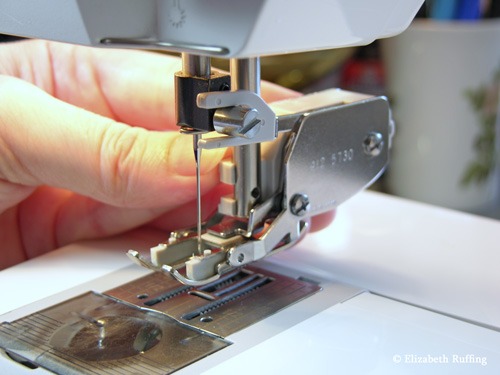
5. Installing the Walking Foot
Follow these steps to Put a walking foot correctly:
- Removing the Standard Presser Foot: Raise the presser foot lever and remove the standard foot by loosening the screw or lever holding it in place.
- Put a walking foot: Align the walking foot with the presser bar and lower it into position. Secure it in place using the screw or lever.
- Ensuring Proper Alignment: Ensure the walking foot aligns evenly with the needle and the fabric.
6. Testing and Adjusting Stitch Tension
After installing the walking foot, test the stitch tension on a scrap piece of fabric. Make any necessary adjustments to achieve balanced and even stitches.
7. Tips for Using a Walking Foot
Maximize the effectiveness of your walking foot attachment with these tips:
- Experiment with different stitch lengths and tensions to achieve desired results.
- When sewing corners or curves, reduce the machine’s speed and guide the fabric carefully.
- Regularly clean and lubricate your walking foot attachment to maintain optimal performance.
8. Common Mistakes to Avoid
To prevent issues with your walking foot attachment, avoid the following mistakes:
- Incorrect Installation: Ensure the walking foot is securely attached and aligned to prevent stitching errors.
- Ignoring Stitch Tension: Neglecting to adjust stitch tension can result in uneven or loose stitches.
9. Conclusion
Installing a walking foot on your sewing machine opens up a world of possibilities for tackling challenging sewing projects with confidence.
By following the steps outlined and incorporating best practices, you can enjoy smoother and more professional-looking stitches in your creations.
FAQs
Can I use a walking foot for quilting?
Yes, a walking foot is excellent for quilting, especially when working with multiple layers of fabric and batting.
Do I need a special walking foot for my sewing machine model?
It’s advisable to choose a walking foot specifically designed for your sewing machine model to ensure compatibility and optimal performance.
Can I use a walking foot for regular sewing tasks?
While a walking foot is particularly beneficial for challenging fabrics, it can also be used for regular sewing tasks to prevent fabric shifting and ensure even stitches.
How often should I clean my walking foot attachment?
It’s recommended to clean your walking foot attachment after every sewing session to remove any lint or debris that may affect its performance.
Can beginners use a walking foot attachment?
Yes, beginners can benefit from using a walking foot attachment as it helps simplify sewing tasks and produces professional-looking results.