

How to do an Overcast Stitch on a Sewing Machine?
Sewing enthusiasts, it’s time to take your skills to the next level by mastering the art of overcast stitching on your sewing machine. Whether you’re a beginner or an experienced seamstress, the overcast stitch is a versatile technique that can elevate your sewing projects. This comprehensive guide will walk you through the steps of performing an overcast stitch on a sewing machine, from the basics to creative applications. Let’s get started!
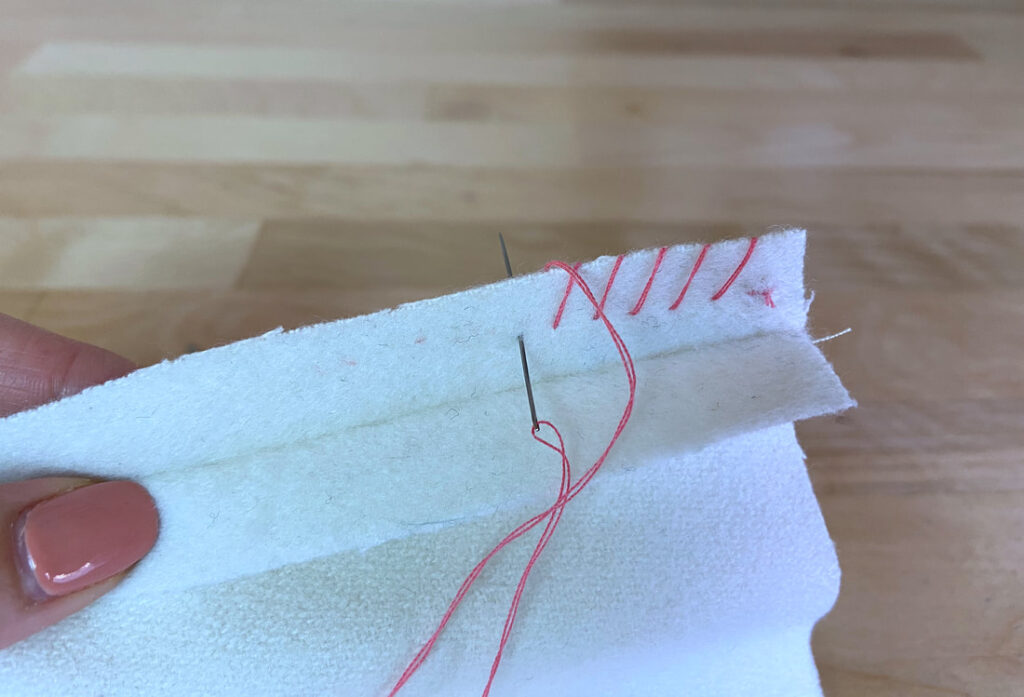
Overcast Stitch
Before we dive into the how-to, let’s discuss what the overcast stitch is. It’s a special sewing technique used to finish the raw edges of fabric to prevent fraying. This stitch creates a neat, professional-looking edge, making it an essential skill for anyone who loves to sew.
Benefits of Using an Overcast Fabric Stitch
Why should you bother with the overcast Fabric stitch? Well, there are several advantages. It not only prevents fraying but also provides a clean and polished finish to your seams. This makes your garments or projects more durable and aesthetically pleasing.
Preparing Your Sewing Machine
First, ensure your sewing machine is clean and in good working condition. Dust off any lint, and oil the machine if necessary. Having a well-maintained sewing machine will ensure smooth stitching.
Choosing the Right Thread and Needle
Selecting the right thread and needle is crucial. Opt for a thread color that matches your fabric, and use a ballpoint or stretch needle for knit fabrics, while a universal needle works for woven fabrics.

Setting Up Your Sewing Machine
Now, set up your machine for overcasting. Attach the overcasting foot if you have one, and select the overcast fabric stitch on your machine.
Adjusting Tension and Stitch Length
Proper tension and stitch length are vital for a successful overcast stitch. Typically, a medium tension setting and a stitch length between 2.5 to 3 work well for most fabrics.
Stitching Techniques
When you start sewing, feed the fabric into the machine, allowing the overcast fabric stitch to catch the fabric’s edge. Keep a steady pace, and guide the fabric gently, ensuring an even and neat stitch.
Finishing the Seam
At the end of your seam, backstitch or tie off the threads to secure the stitching. Trim any excess thread.

Practice and Tips
Practice makes perfect, so don’t be discouraged if your first attempts aren’t flawless. Experiment with different stitch lengths, tensions, and fabrics to refine your overcast stitching skills.
Overcasting with Different Fabrics
Different fabrics may require slight adjustments in your overcast technique. Be prepared to adapt to the fabric you’re working with.

Troubleshooting Common Issues
Are you encountering issues like skipped stitches or thread breakage? We’ve got you covered with some troubleshooting tips to keep your overcast stitching smooth.
Creative Applications of Overcast Stitch
The overcast stitch isn’t limited to finishing seams. Explore its creative potential by using it for decorative edging, attaching trims, and more.
Maintaining Your Sewing Machine
Regular maintenance of your sewing machine is essential for consistent, high-quality stitching. Learn how to keep your machine in top shape.
Conclusion
You’ve now mastered the overcast fabric stitch on a sewing machine! This skill opens up a world of creative possibilities for your sewing projects.
Can I use the overcast stitch on any sewing machine?
Yes, most sewing machines have an overcast fabric stitch option. Check your machine’s manual for details.
What fabrics can I overcast fabric stitch on?
You can overcast stitch on a variety of fabrics, including woven and knit materials.
How do I prevent thread breakage while overcast stitching?
Ensure your machine is correctly threaded, and use high-quality thread to minimize breakage.
Can I use the overcast stitch for decorative purposes?
Absolutely! The overcast fabric stitch can be used for decorative edging and embellishments.