Fast Response
Same-day appointments available
Licensed & Insured
Fully certified professionals
10+ Years Experience
Thousands of satisfied customers
Appliance Repair Service
Have you been looking for a reliable appliance repair service in your area? You have just found it. We offer quality appliance repair services in the shortest time and at the most affordable cost. A single visit from our experts is sufficient to get your failing appliances in perfect condition.
We have been in the market for over ten years and have helped hundreds of thousands of customers get their appliances in shape. Our goal has always been to provide unique and impeccable service to build a strong relationship between our customers and us. That is why we do not limit ourselves to fixing your appliances, but also provide friendly and honest services.
Our Services
Professional repair services for all major home appliances
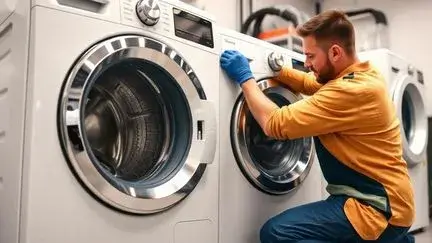
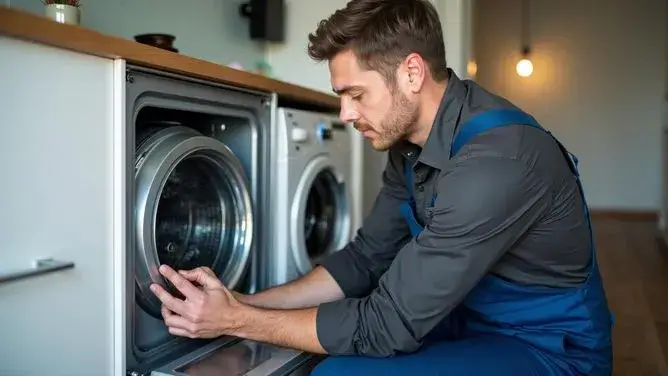
Washer & Dryer Repair
Expert repair services for all washer and dryer brands. We diagnose and fix issues quickly to get your laundry routine back on track.
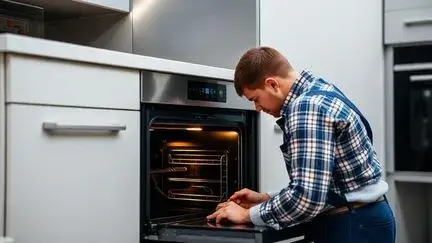
Oven & Stove Repair
Professional repair for ovens, stoves, and cooktops. From heating issues to faulty controls, we handle all repairs with expertise.
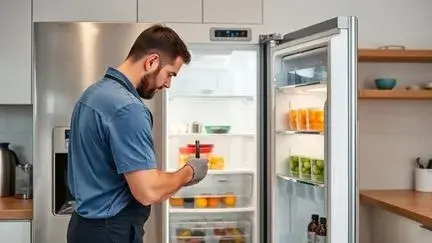
Refrigerator & Freezer Repair
Keep your food fresh with our refrigerator and freezer repair services. We fix cooling problems, leaks, and more.
Frequently Asked Questions
Find answers to common questions about our appliance services