Sewing is a versatile skill that allows you to create a wide range of garments and crafts. Among the many techniques used in sewing, basting stitches stand out as a crucial and often underestimated step in the process. In this article, we will explore the art of sewing basting stitches and why it’s an essential skill for any sewing enthusiast.

What are Basting Stitches?
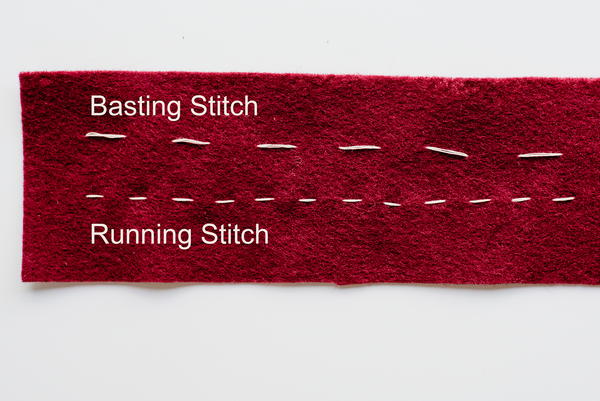
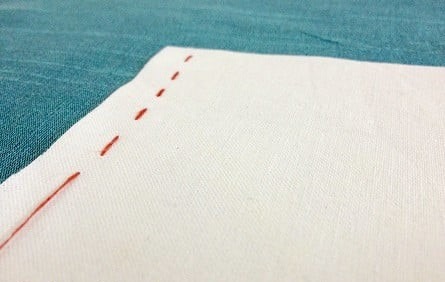
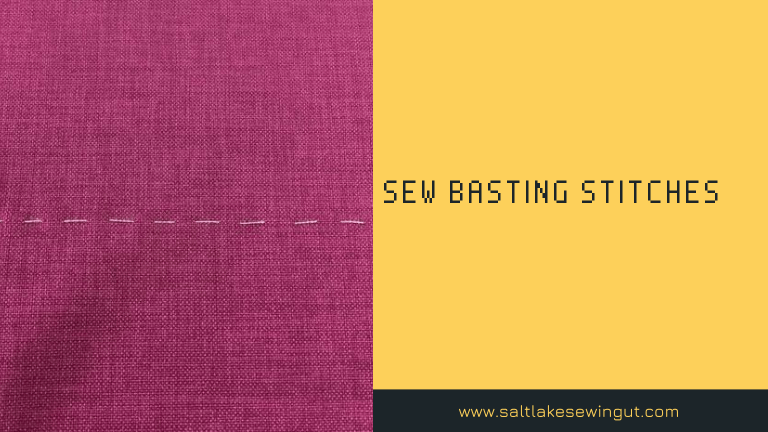
Basting stitches are long, temporary stitches used to hold pieces of fabric together before permanent stitching is applied. They are typically sewn with a contrasting thread, making distinguishing them from the final stitching easy. Temporarily holding the fabric together is vital in ensuring precise alignment and preventing the fabric from shifting during the sewing process.

Tools and Materials Required
Before we delve into the process of sewing to temporarily hold the fabric together let’s go over the tools and materials you’ll need:
Fabric
Sewing machine or hand-sewing needle
Thread (usually a contrasting color)
Pins
Measuring tape
Preparing Your Fabric
The first step in sewing to temporarily hold the fabric together is to prepare your fabric. Ensure that the edges of the fabric pieces you want to join are neatly cut and aligned. It’s essential to press the fabric to remove any wrinkles, as this ensures accuracy in your final project.
How to Sew Basting Stitches
Hand Basting Stitches
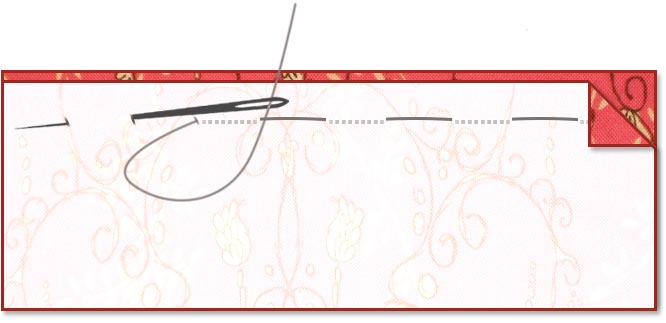
Hand basting is a method where you sew temporary stitches by hand. Follow these steps:
Thread your needle with a contrasting color thread.
Make a small knot at the end of the thread.
Start stitching approximately ¼ inch away from the fabric’s edge.
Sew long, even stitches along the seam line.
Secure the end of the thread with a knot when you reach the end.

Machine Basting Stitches
Machine basting is a quicker method using a sewing machine:
Thread your sewing machine with a contrasting thread.
Set your machine to the longest stitch length available.
Sew along the seam line, ensuring that the fabric edges align.
When to Use Basting Stitches
Basting stitches are particularly useful in the following situations:
When working with slippery or delicate fabrics
To hold darts, pleats, or tucks in place
For pattern adjustments
When matching plaids, stripes, or intricate designs
Removing Basting Stitches
Once you’ve completed your final stitching, it’s time to remove the temporary hold of the fabric together. Use a seam ripper to carefully cut and remove the contrasting thread. Ensure you don’t damage your fabric in the process.
Tips for Successful Basting
Maintain even tension in your stitches.
Use a thread color that contrasts with your fabric for easy identification.
Be patient and precise to ensure accurate alignment.
Conclusion
Mastering the art of sewing to temporarily hold the fabric together is a valuable skill in sewing. It ensures that your fabric pieces stay in place while you sew, resulting in more professional and accurate outcomes. Whether you’re a beginner or an experienced seamstress, basting stitches are a technique that should not be overlooked.
Are basting stitches the same as regular stitches?
No, holding the fabric together is temporary and meant to hold fabric pieces together until you apply permanent stitches. Regular stitches are the final, secure stitches in your project.
Can I use any color thread for basting stitches?
It’s recommended to use a contrasting color thread to temporarily hold the fabric together to easily identify and remove them later.
How do I remove basting stitches without damaging the fabric?
Carefully use a seam ripper to cut the basting thread while avoiding any damage to the fabric.
Are there specific projects where basting stitches are essential?
Temporarily holding the fabric together is especially useful when working with delicate fabrics, pattern adjustments, or matching intricate designs.
Can I reuse basting stitches for other projects?
While it’s possible to reuse temporarily hold the fabric together it’s often more convenient to remove them and start fresh for each project to ensure accuracy and quality.

