
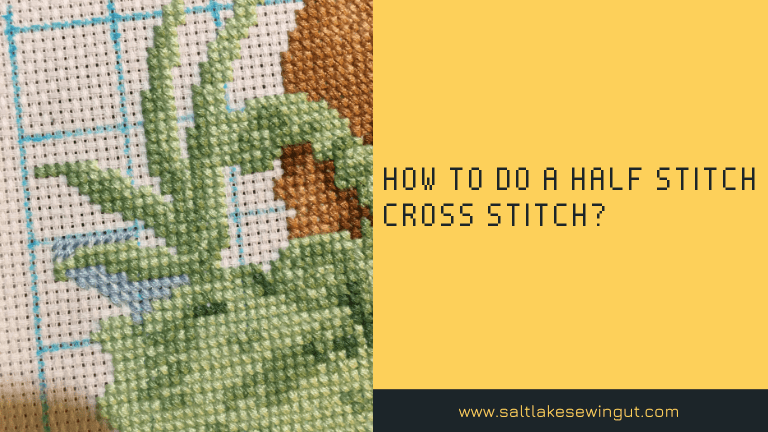
Among the fundamental stitches in cross stitching is the half stitch, a simple yet crucial technique.
Cross-stitching is a beloved craft that allows us to create intricate and beautiful designs on fabric.
In this comprehensive guide, we’ll walk you through the steps of mastering the half-stitch cross stitch, providing you with the skills to enhance your needlework.
Mastering the Half Stitch Cross Stitch: A Beginner’s Guide
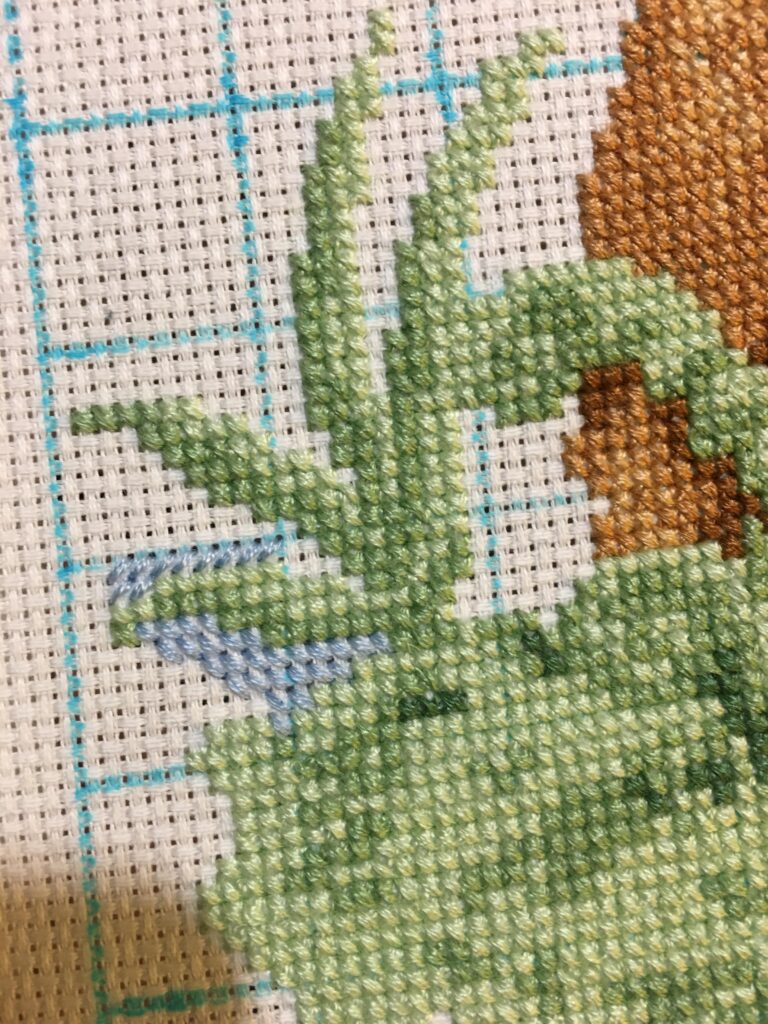
The half stitch, also known as the tent stitch or continental stitch, is a fundamental embroidery technique used in cross stitching.
While often overshadowed by its full-stitch counterpart, the half-stitch holds its magic, creating delicate, airy effects and adding dimension to your projects.
So, grab your needle, thread, and Aida cloth, and let’s dive into the enchanting world of half stitches!
Materials What You’ll Need
- Embroidery needle: A size 24 or 26 needle is perfect for most aida cloth counts.
- Embroidery thread: Opt for six-stranded floss; you’ll only use two strands for half stitches.
- Aida cloth: Choose a count that suits your project and skill level. Lower counts (14-18) have larger holes for easier stitching, while higher counts (22-28) create finer details.
- Scissors
- Embroidery hoop (optional): This helps keep your fabric taut and prevents puckering.
- Pattern (optional): While freehand stitching is possible, beginners might find a pre-made pattern helpful.
Stitching the Half Stitch
- Thread your needle: Separate two strands of floss from your six-stranded skein. Thread them through your needle, leaving a tail about 2 inches long. Knot the tail securely.
- Start stitching: Locate our starting point on the Aida cloth. Coming from the back of the fabric, insert our needle diagonally upwards through a hole, leaving a small loop on the back. This is our first half-stitch.
- Complete the stitch: Insert our needle diagonally downwards into the hole directly across from where we came up. This completes our first full half-stitch! Gently pull the thread to tighten, but avoid puckering the fabric.
- Continue stitching: Repeat steps 2 and 3, working across the row or following our pattern. Remember, we’re only making half stitches, covering only one diagonal of each square on the Aida cloth.
- Finishing off: Once we’ve completed our desired area, secure the thread by weaving it under a few existing stitches on the back of our work. Trim the excess thread close to the fabric.

Conclusion
Mastering the half stitch in cross stitching is a rewarding journey that opens the door to a world of creative possibilities.
As we become adept at this fundamental technique, you’ll find yourself seamlessly weaving intricate designs on fabric.
Remember, each half-stitch contributes to the larger tapestry of our creation.
So, gather your materials, thread your needle, and embark on our cross-stitching adventure.
The half stitch is our gateway to turning a blank canvas into a work of art, one stitch at a time.
FAQ
What are the benefits of using half stitches?
Half stitches create a lighter, airier texture compared to full stitches. They’re perfect for adding shading, blending colors, and creating delicate details like leaves, fur, or facial features.
Can I mix half and full stitches in my project?
Absolutely! Combining these stitches adds depth and dimension to your work. Experiment with different combinations to achieve your desired effect.
What types of projects are good for half stitches?
Half stitches shine in projects with intricate details, like portraits, landscapes, or realistic animals. They also add subtle shading and texture to borders or backgrounds.
Do I need to use two strands of floss for half stitches?
While two strands are common, you can adjust the number based on your desired coverage and fabric count. Experiment with one strand for even more delicate effects!